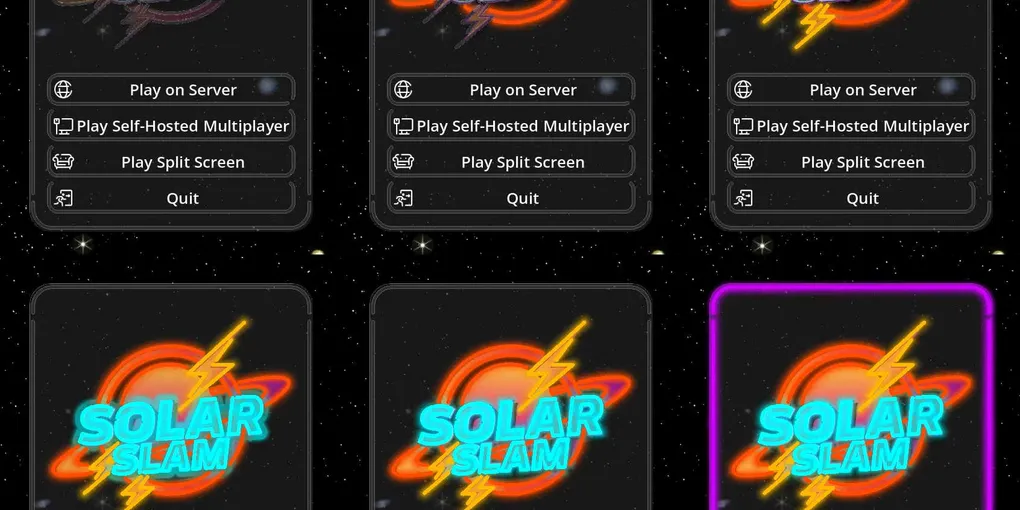
Neon Boondoggles & Test of Faith
Here are the highlights:
- Applied the neon theme to most things
- Interviewed for a job and turned it down
- Started adding split-screen controller support
- Rust LOC: 44,679 (+10,022), I probably wrote and deleted another 10k on neon stuff that didn’t work
Neon Boondoggle
(I use the words “texture”, “sprite”, and “image” kind of interchangeably. They basically all mean “picture”.)
Trying to fully implement the neon effects I described in the last post turned out to be a complete boondoggle. In the last post, I had something that worked for one type of UI widget (the background panel) and with one texture set. Trying to scale it up for the whole app was a disaster.
The first thing I did after writing that update was make another set of neon tube sprites to add variety and improve quality. The original source file had about a dozen layers in Affinity (a free photoshop alternative). They had the glow, glass effects, on-off states, etc. It took me about two hours to replicate in the new texture set, and it looked terrible in-game, which would require another hour to fix. In hind sight, I was unfamiliar with the tools and with a little practice could have done it a bit faster. But if I stayed with the photoshop-heavy technique, then I’d still have an ongoing issue of trying to keep hundreds of texture assets in-sync to maintain a cohesive look. I needed a different approach.
Artisanal Neon Importer
At their core, neon tube designs are very simple. All the glows and effects can be calculated from simple line drawings. Ideally, I should be able to convert any line drawing into neon.
I thought of a few approaches:
- Make a custom program or script that would generate the neon textures from a source image
- Then, make a custom import plugin for the game engine that would automatically run the importer
- Render them in Blender and automate the process with some (hopefully) simple scripting
- Simplify the design, so I only have one layer in photoshop
- Just keep swimming and hope that I get faster
I asked AI if there were some other ideas that I hadn’t considered and how I would go about each one. It advocated for option 1, a custom program, and said it would be super easy. I pushed back with “everytime I’ve done something like this, it’s been a total boondoggle.” It replied with “trust me bro” and proceeded to outline a pipeline for doing it. It was a boondoggle.
One of the AI traps that gets me every time is that it gives you an 80% solution on the first try and it gives me a false sense of confidence. I skip reading the tutorials and docs and jump right in. If I finished 80% in 5 minutes, then how much longer could it really take? My final version doesn’t have any of the AI code left after a very painful annealing process.
The pipeline:
- Create simple black-and-white neon tube drawings and export them as SVG files
- A custom godot SVG importer generates a “Signed Distance Field” from it
- A custom shader renders that as neon tubes. Another shader uses the same texture for the surface glows and yet another shader for the reflections.
Step 1: Create simple black-and-white neon tube drawings
Step one is easy, here’s an example sprite:

A growable neon tube sprite for UI panel outlines. The game slices it into nine pieces and stretches it without distortion.
Step 2: A custom godot SVG importer would generate a “Signed Distance Field”
Step two took several days. AI wrote a (seemingly) working thing on the first try but actually getting it to work was the hard part. The importer would work exactly once per texture, and then had memory leaks and corruption thereafter. So I needed to reboot godot every time I updated a texture. Godot would run my importer and then the default SVG importer every time, and save the result of my custom importer to disk, but use the default importer’s results in-memory. I eventually found a magic constant to fix most of the memory leaks, and now it only occasionally crashes Godot. It doesn’t have any issues in the final build so that’s good enough.
Signed Distance Fields, or “SDF”, store the distance to the nearest wall in every pixel. They basically make the image really blurry.
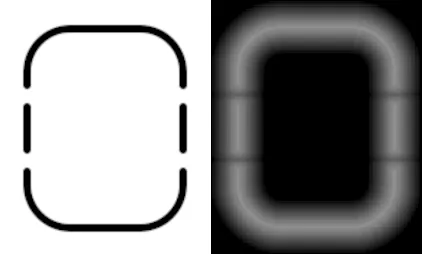
The original image and its 16-pixel radius signed distance field
Obviously, basically every image editor worth a damn has filters that calculate glow effects like this, so a custom importer seems pretty silly. The main advantages are that:
- I have full control over the exact color values. This is helpful for shader programs.
- I can adjust the glow intensity of all sprites from within the Godot editor for a “WYSIWYG” workflow (what you see is what you get). This is extra helpful because my graphics editor only works on Windows and my dev setup is Linux.
- I can programmatically crop images to the exact glow size without fussing.
Step 3: A custom neon tube shader
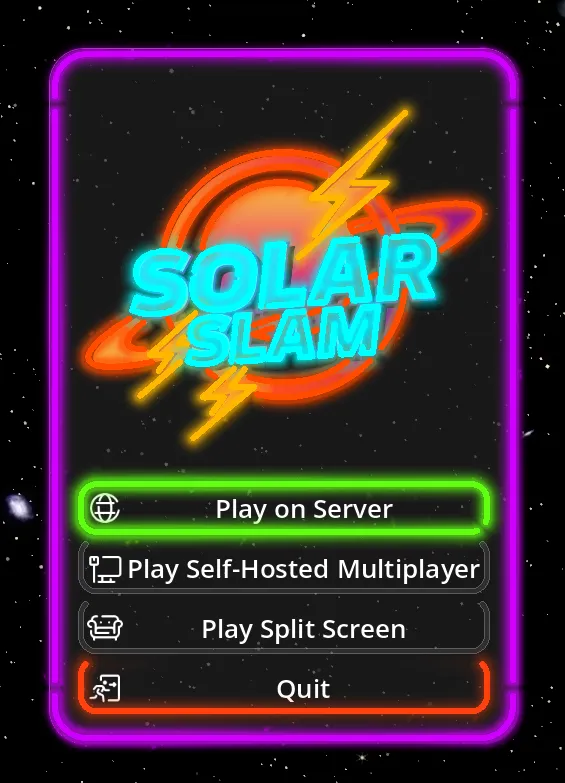
Foreshadowing the next boondoggle, can you spot it?
I really wish I had a website for this. I really need GIFs to show it off. The glows slightly pulse over time to make them look less static. You can kind of see it in the screenshot on the green “play on server” button. The left side has a stronger and thicker glow. There’s also a faint dusty room effect where little dust particles dance in the glow, but they don’t really show up in the screenshot.
I also made a multichannel importer for animated signs. The shader treats the RGB channels as separate inputs in rendering. Here’s the main logo:
And here’s how it’s animated when the application boots:
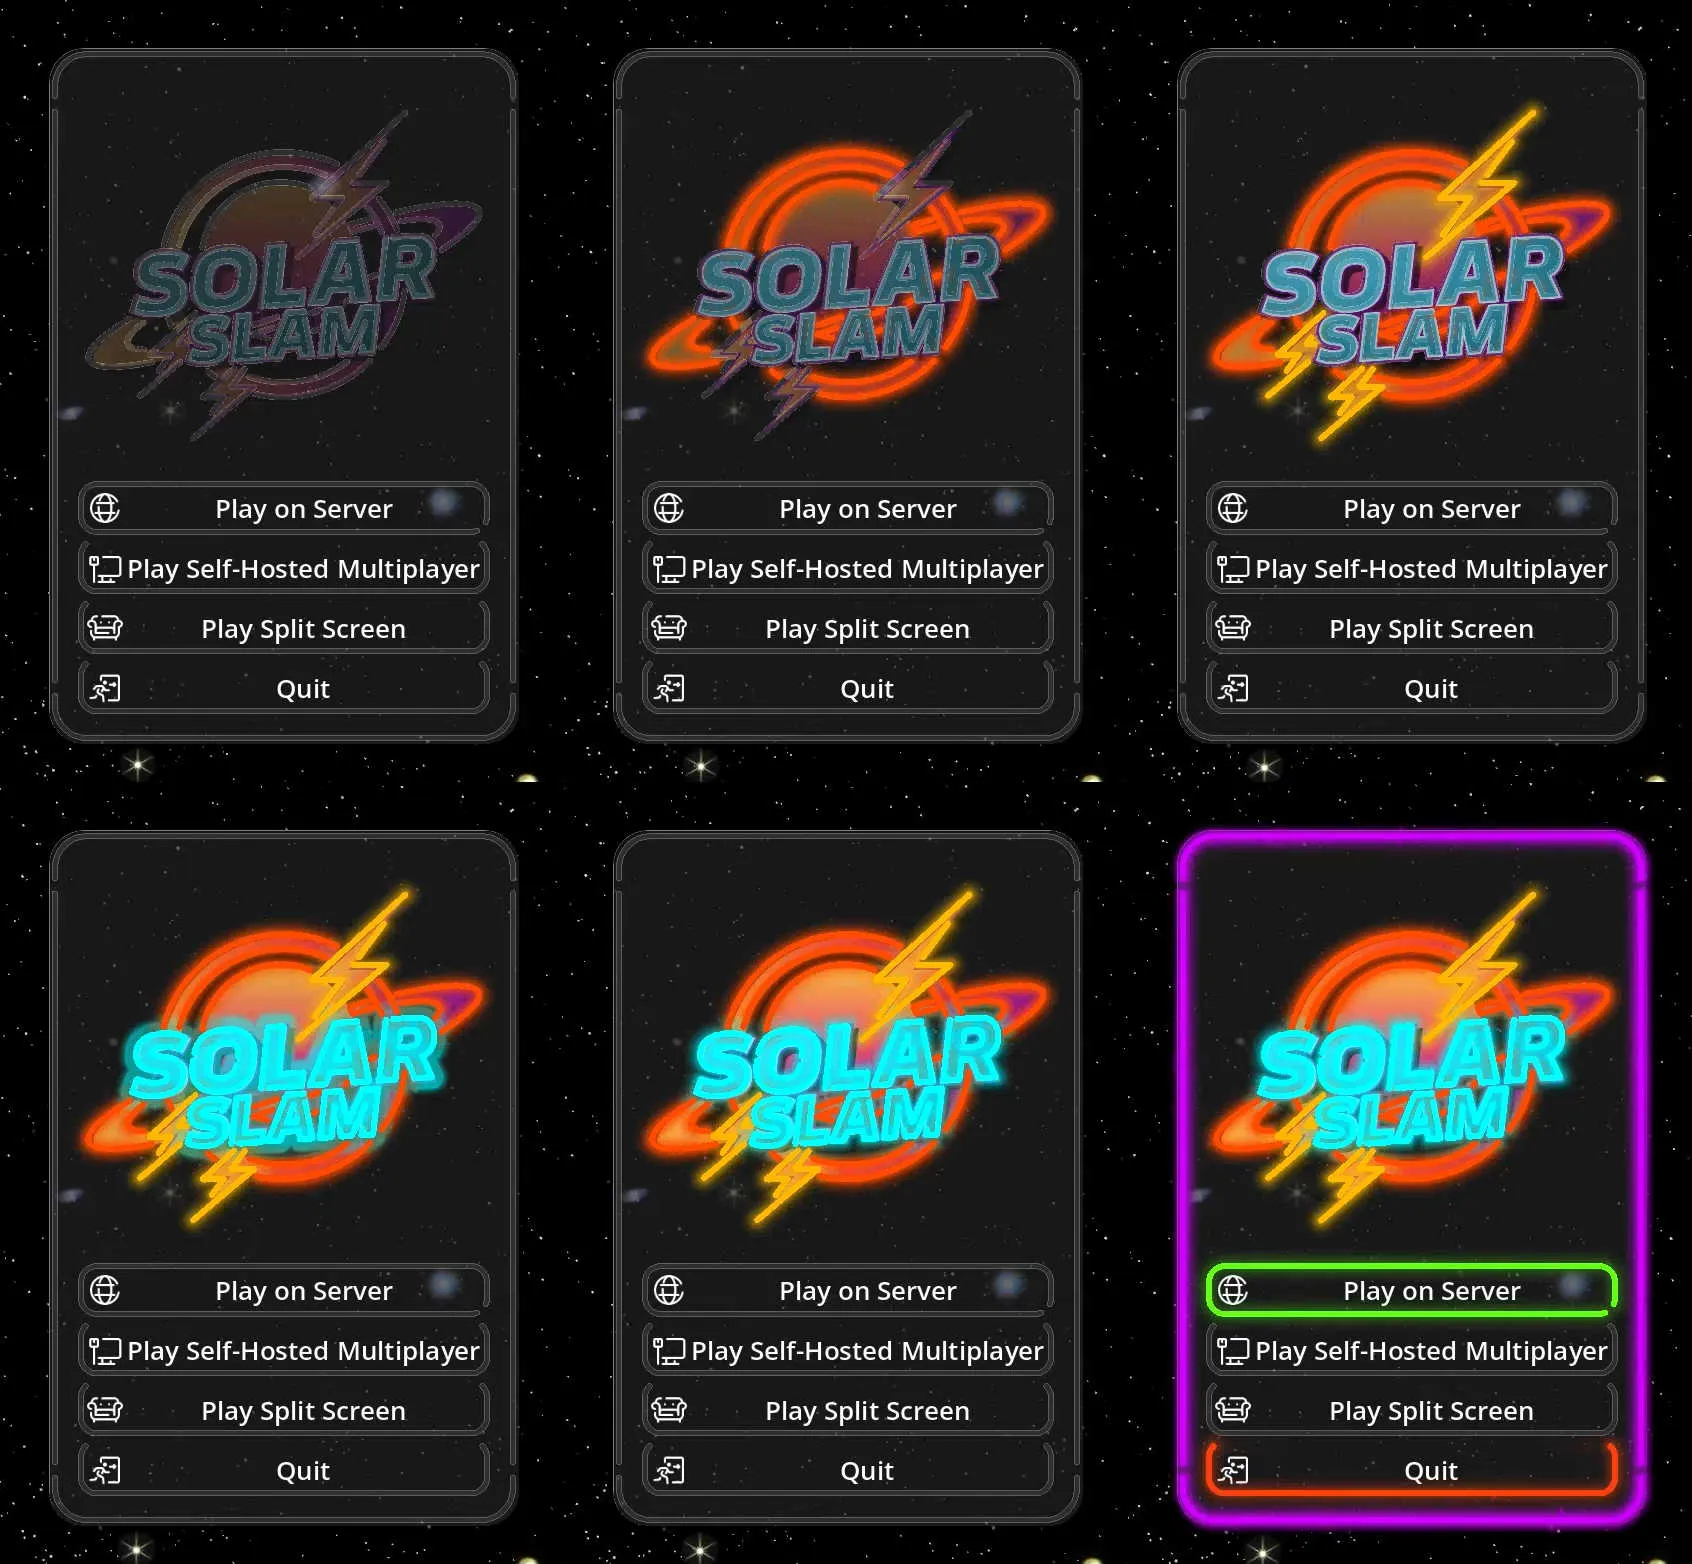
Startup animation. Imagine it makes a big metal switch “clunk” sound when each light turns on.
Why not Bloom?
A savvy reader might be wondering, “Why not use Godot’s built-in ‘bloom’ effects for the glow?”
Godot’s bloom is mostly designed to work on the game world and not the UI, and it’s difficult to have different glow amounts for the world vs UI. By default, it only applies to the game world. If you turn it on for both, then the glow needed to make the UI look good looks terrible for the actual game. You can use different settings for UI vs world through layering “viewports” on top of each other, but the bloom is hard-coded to only apply to non-transparent pixels. This gives the glow a harsh edge when it hits the edge of a widget. It wouldn’t be noticeable in these screenshots but it shows up in other parts of the UI.
The built-in bloom effect is a little difficult to control and can drastically reduce the readability of the UI. It washes out text and triggers randomly on pixels that dared to be too bright. With my current approach, I have full control over what glows and what doesn’t, and it’s worth sacrificing a little realism for usability.
The Second Neon Boondoggle
Notably absent from these screenshots is the 3D effect that I was so proud of.
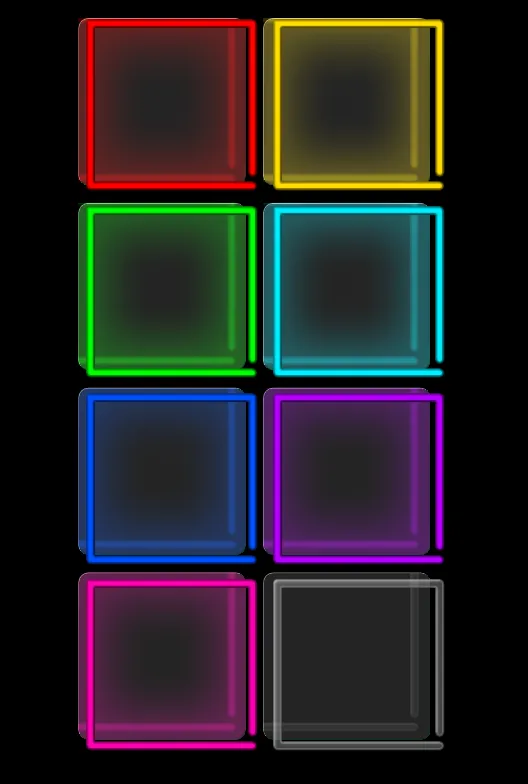
RIP
I spent about two weeks trying to get it to work for buttons and arbitrary controls. I was working on this part simultaneously as the import step so I didn’t know when I started that I’d only need one texture in the end and I could have easily managed all those textures without an importer. So the importer was a waste of time.
In Godot, everything is a node in a tree. It controls everything about the game. Also, each node can have exactly one “script” or type associated with it. So it’s impossible to layer multiple effects or behaviors on a single node. You need to create additional nodes and link them together somehow to achieve composite effects. This is a huge difference from Unity which allows you to attach as many scripts to a node as you want. Godot also enforces that each node can only render one mesh and shader* per node, vs Unity you can do whatever you want. These are crippling restrictions.
(*) 3D nodes can have multiple shaders per node, but 2D nodes only get one
This is the node tree structure I used to create the original 3D effect:
- Root, Background panel with glass texture
- Reflection clipping pane – This clipped the reflections to only show up on the glass background
- Reflection #1
- Reflection #2… etc
- Content Root – This holds the actual stuff in the UI
- Button #1, 2.. etc
- Glass Glow clipping pane – This kept the strong glow on the glass surface from floating in space. It’s rendered
separately from the reflection to make the buttons and text glow.
- Glow #1, 2, etc
- Floating Neon Tubes – These are all the neon tubes with their bloom-glow effects
- Neon Tube #1, 2, etc
- Reflection clipping pane – This clipped the reflections to only show up on the glass background
To get clipping to work, each button and glowing widget inside the UI needed to spawn new reflection, glow, and neon-tube nodes and move them to the correct place in the tree. This seems really straightforward but hits some big edge cases with editor “tool” scripts. I can think of some ways to add the 3D effect back in, but it’s going to have to wait a while.
Too Many Nodes
The tree structure meant that for every button and widget I also needed to keep track of three other nodes that needed to be dynamically reparented. Every time I changed a texture, I had to change it in two other places. So I created helper logic that would automatically apply the change to the other nodes but this added a lot of complexity when dealing with the node lifecycle.
Domain Reloading
Domain reloading is the name for when an application reloads a DLL or plugin without rebooting. In Unity, this happens every time you edit the C# code. In Godot Rust, it’s when you rebuild the Rust plugin. This is a traumatic experience for the application, and something always gets lost in the process. In Unity C#, it tries to carry over the internal state of the program, including private hidden variables and function callbacks. In Rust, it reboots from a clean slate and recreates all the internal state. I like Godot Rust’s approach more because Unity C# style always breaks. But the big gotcha with Godot Rust is that it doesn’t give you a warning before domain reloading to clean things up ahead of time. It only tells you after the fact.
This was an issue because I foolishly tried dynamically creating special hidden “ownerless” nodes for layered special effects. When creating a node in Godot, you’re supposed to also set the node’s “owner”, which is a different property from its parent for some reason. If you don’t set the owner, then they don’t clutter up the scene tree in the editor and they aren’t saved to disk. They also turn into memory leaks during domain reloading because Rust helpfully deletes the pointer to them without freeing the resources.
Node Lifecycle
Ok, so if special hidden nodes break, maybe I should use normal nodes like a sane person, but there’s a weird edge case where it crashes the editor when changing tabs.
Buttons and other widgets are dynamically created and destroyed during the game. It would look really bad if their glow persisted afterward. In Godot, nodes get an exit_tree notification when they or a parent node is removed from the scene tree, but there isn’t a good signal for deletion. Nodes are also removed, firing exit_tree notifications, every time you switch tabs in the editor. They are re-added when you go back, but in the meantime they’re kind of disassociated from everything else in the application. From the button/widget’s perspective, changing tabs is mostly indistinguishable from deletion, so it needs to do cleanup and delete the glow nodes.
The big gotcha is that the editor can crash if you also remove a child node when changing tabs or when closing the application.
One Node Multiple Render Steps
A saner approach would be to have one button/widget render in multiple passes with different textures or shaders. This is super common in 3D graphics, but Godot forbids it in 2D for some reason. Each 2D node can only have a one shader with a single draw pass. This is what the default buttons look like with my neon shader:
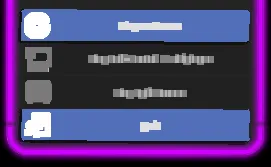
Very legible
The shader is applied to the whole button because the icons, label, and background are all one node with one shader slot.
The Solution?
Most of the unsolvable problems come from trying to use multiple nodes during edit time. I might be able to resurrect the 3D effect if I used a simplified renderer during edit time, and only spawn the fancy nodes when the game is actually running. Runtime has a much simpler object lifecycle, and I don’t need to worry about domain reloading. But I’ve already spent too long on this, so it will need to wait.
Test of Faith
A little while ago a coworker from Google reached out to me and recommended that I apply for a job at the quantum computer startup they worked for. I applied, interviewed, got offered a job, and even successfully negotiated for a higher salary, but then I backed out of it. By all accounts I should have taken the job. I was a good fit: it seemed like a cross between past jobs at Google Overture, Battelle, and Aptima; but I just didn’t want to do it. It was an incredibly hard decision to make and I changed my mind several times.
Like many programmers, I’ve wanted to make video games ever since I was a kid. The dream of being a game developer is what pushed me through hard times at my job and school. It made my jobs more than a paycheck, they were ways to learn project management, conflict resolution, and programming, all things I would need for my game dev company. I lived frugally to give myself more resources to work on my projects later. Financially, I think I’ve saved up enough to try. Skill-wise, I plateaued a long time ago.
I don’t have any illusions that this game will make money, but it’s not really about the money. I feel like I owe it to my past self who pushed through hardships, challenged myself to always do better, and lived frugally for a dream. It feels like a debt that must be paid.
My new office and coworker are pretty great, even though there’s no AC and he farts a lot
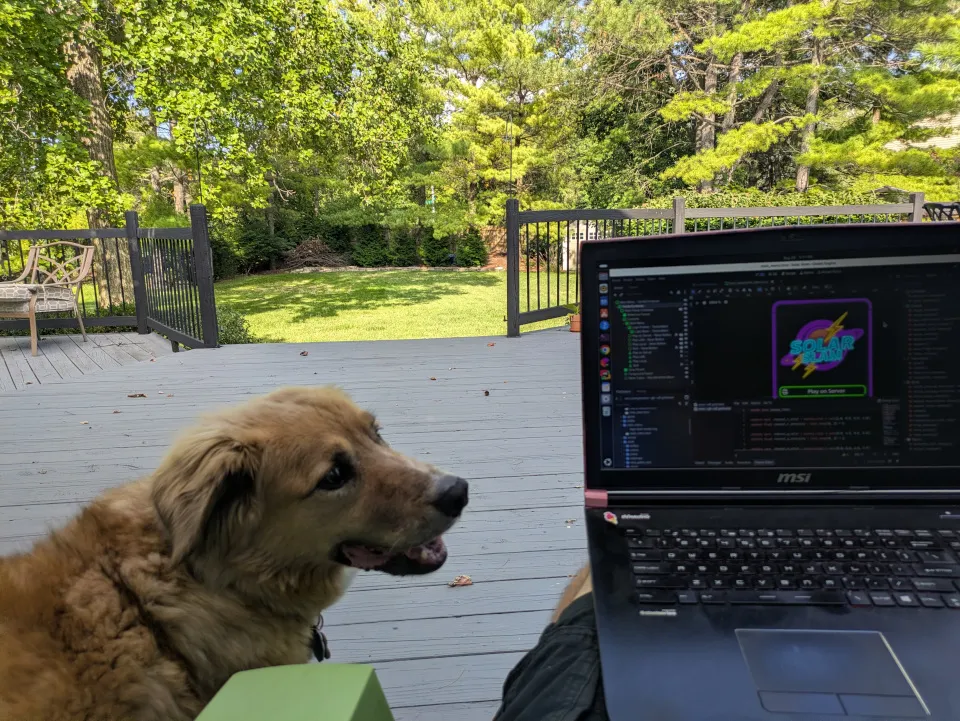
My friends used to joke that I loved “programming with the squirrels” because I liked working outside. Living the dream.